Achieving a perfect finish on your woodworking projects can be challenging, especially when common issues like orange peel, blotching, and others arise. Understanding the causes and solutions for these problems is essential to always achieving a high-quality finish. We have put together a guide on seven of the most frequent finish coating issues, how to fix them, how to choose the right type of finish along with mixing tips to ensure success from the start.
Types of Wood Finishing Material: Selecting the Right Product
Selecting the right type of wood finish for your project is crucial for ensuring durability and long-term performance. Different wood finishes offer various levels of durability, scratch resistance, and water resistance, making them suited for different applications. Here’s a breakdown of common finish types and their ideal uses:
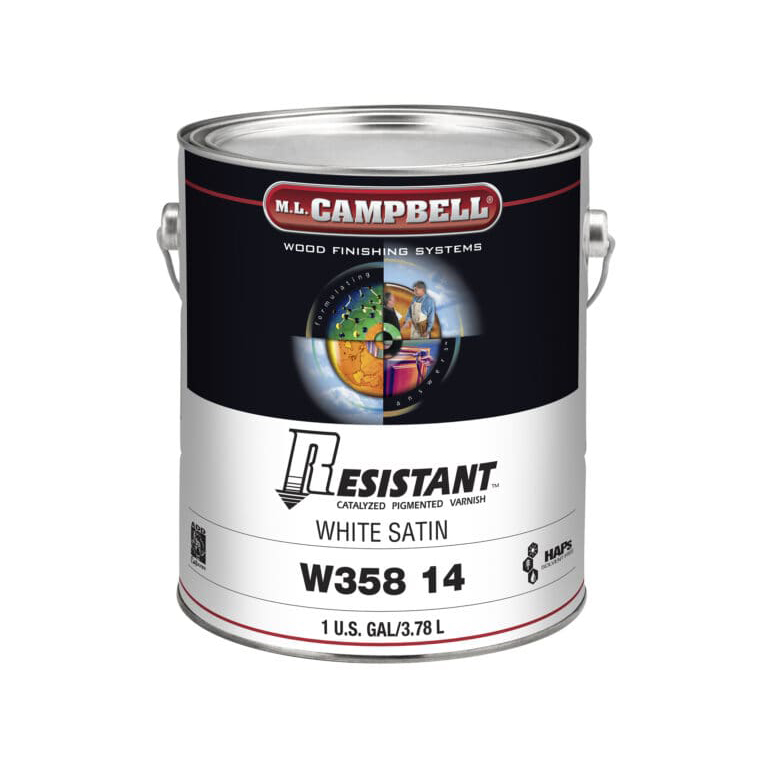
Pre-Catalyzed Lacquer Finishes (Pre-Cat)
Pre-catalyzed lacquers are a popular choice for projects that don’t require extreme durability but benefit from an extended pot life.
Advantages: Pre-cat lacquers have a long pot life, meaning they stay usable for longer after mixing, making them convenient for larger projects or slower-paced work.
Durability: While easy to use, these finishes are less durable compared to post-catalyzed finishes, meaning they are more susceptible to wear and tear.
Post-Catalyzed Lacquer (Post-Cat) & Conversion Varnish (CV) Finishes
Post-catalyzed lacquers and conversion varnishes offer enhanced durability compared to pre-cat lacquers.
Advantages: Post-catalyzed finishes have a longer pot life (usually between 8-20 hours), providing ample working time before they start to harden.
Durability: Post-cat finishes and conversion varnishes are highly durable, offering excellent resistance to wear, scratches, and moisture.
Polyurethane and Acrylic Finishes
For the highest level of durability and resistance to damage, polyurethane and acrylic finishes are the top choices.
Advantages: While these finishes have a shorter pot life (around 4-5 hours), they are highly scratch-resistant and offer superior protection against chemicals and water.
Durability: Polyurethane and acrylic finishes provide exceptional durability, making them ideal for high-traffic and heavy-duty environments.
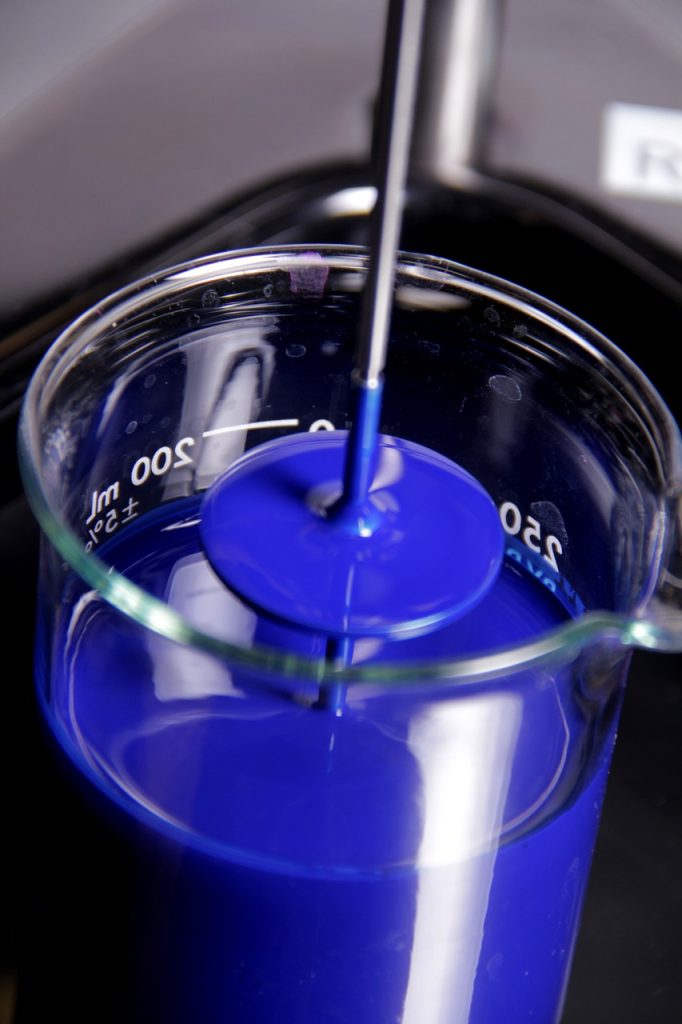
Mixing Tips for a Flawless Finish
Before even spraying finishes on a substrate, it’s crucial to properly mix the product. Here are essential mixing tips to get you started on the right track:
Read the Manufacturer’s TDS sheet
The Technical Data Sheet (TDS) contains vital information about how to mix the product. Always consult this before starting.
Check Viscosity
Viscosity refers to how thin or thick the product is. Some products are “Ready to Spray” (RTS), while others need to be reduced to spray more smoothly. Proper reduction ensures the finish flows out of the spray gun evenly and applies smoothly to the substrate.
Add Catalyst or Hardener
Catalysts or hardeners are usually measured by volume using a mix cup or weight scale in grams. Adding the correct amount strengthens the finish and reduces drying times, so always follow the TDS sheet for exact ratios.
Monitor Spray Cycles
It’s important to know how many wet mils of product to apply. Use a wet mil gauge to ensure each coat is between 3-4 mils thick for optimal coverage.
Determine Coat Quantity and Dry Time
Knowing how many coats to apply and how long to wait between coats is critical for achieving a flawless finish. Again, refer to the TDS sheet for the recommended dry times.
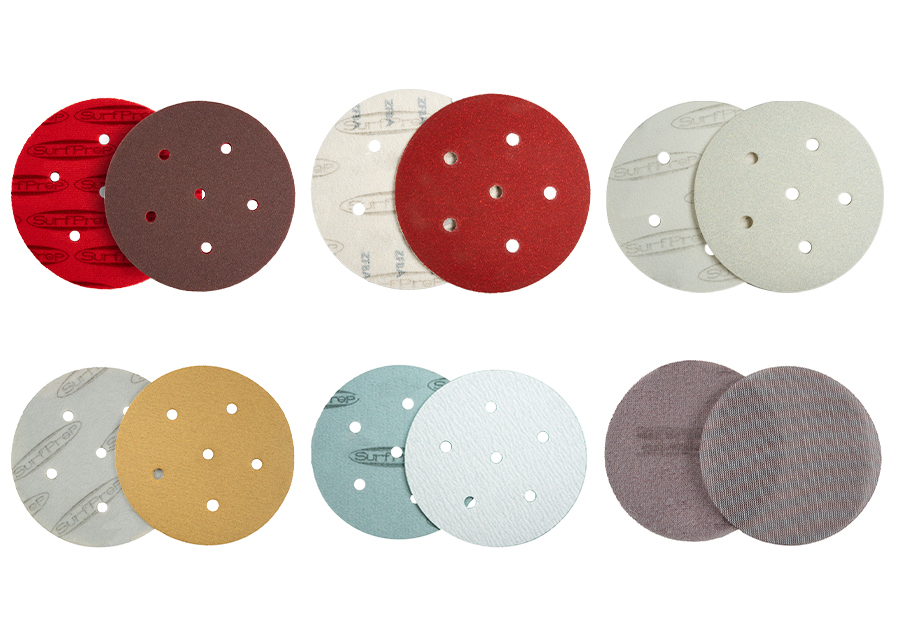
Use the Right Sandpaper
Between coats, it’s recommended to sand with the right grit to achieve smooth layers. This varies by product, but common abrasive grits range from 220 to 400, depending on the type of finish you are applying.
Proper Mixing
Refer to the TDS sheet for the percentage of catalyst required for each product, then stir thoroughly for one to two minutes. Add percentage of reduction, stir thoroughly for one to two minutes, and let rest for 5 to 10 minutes before applying.
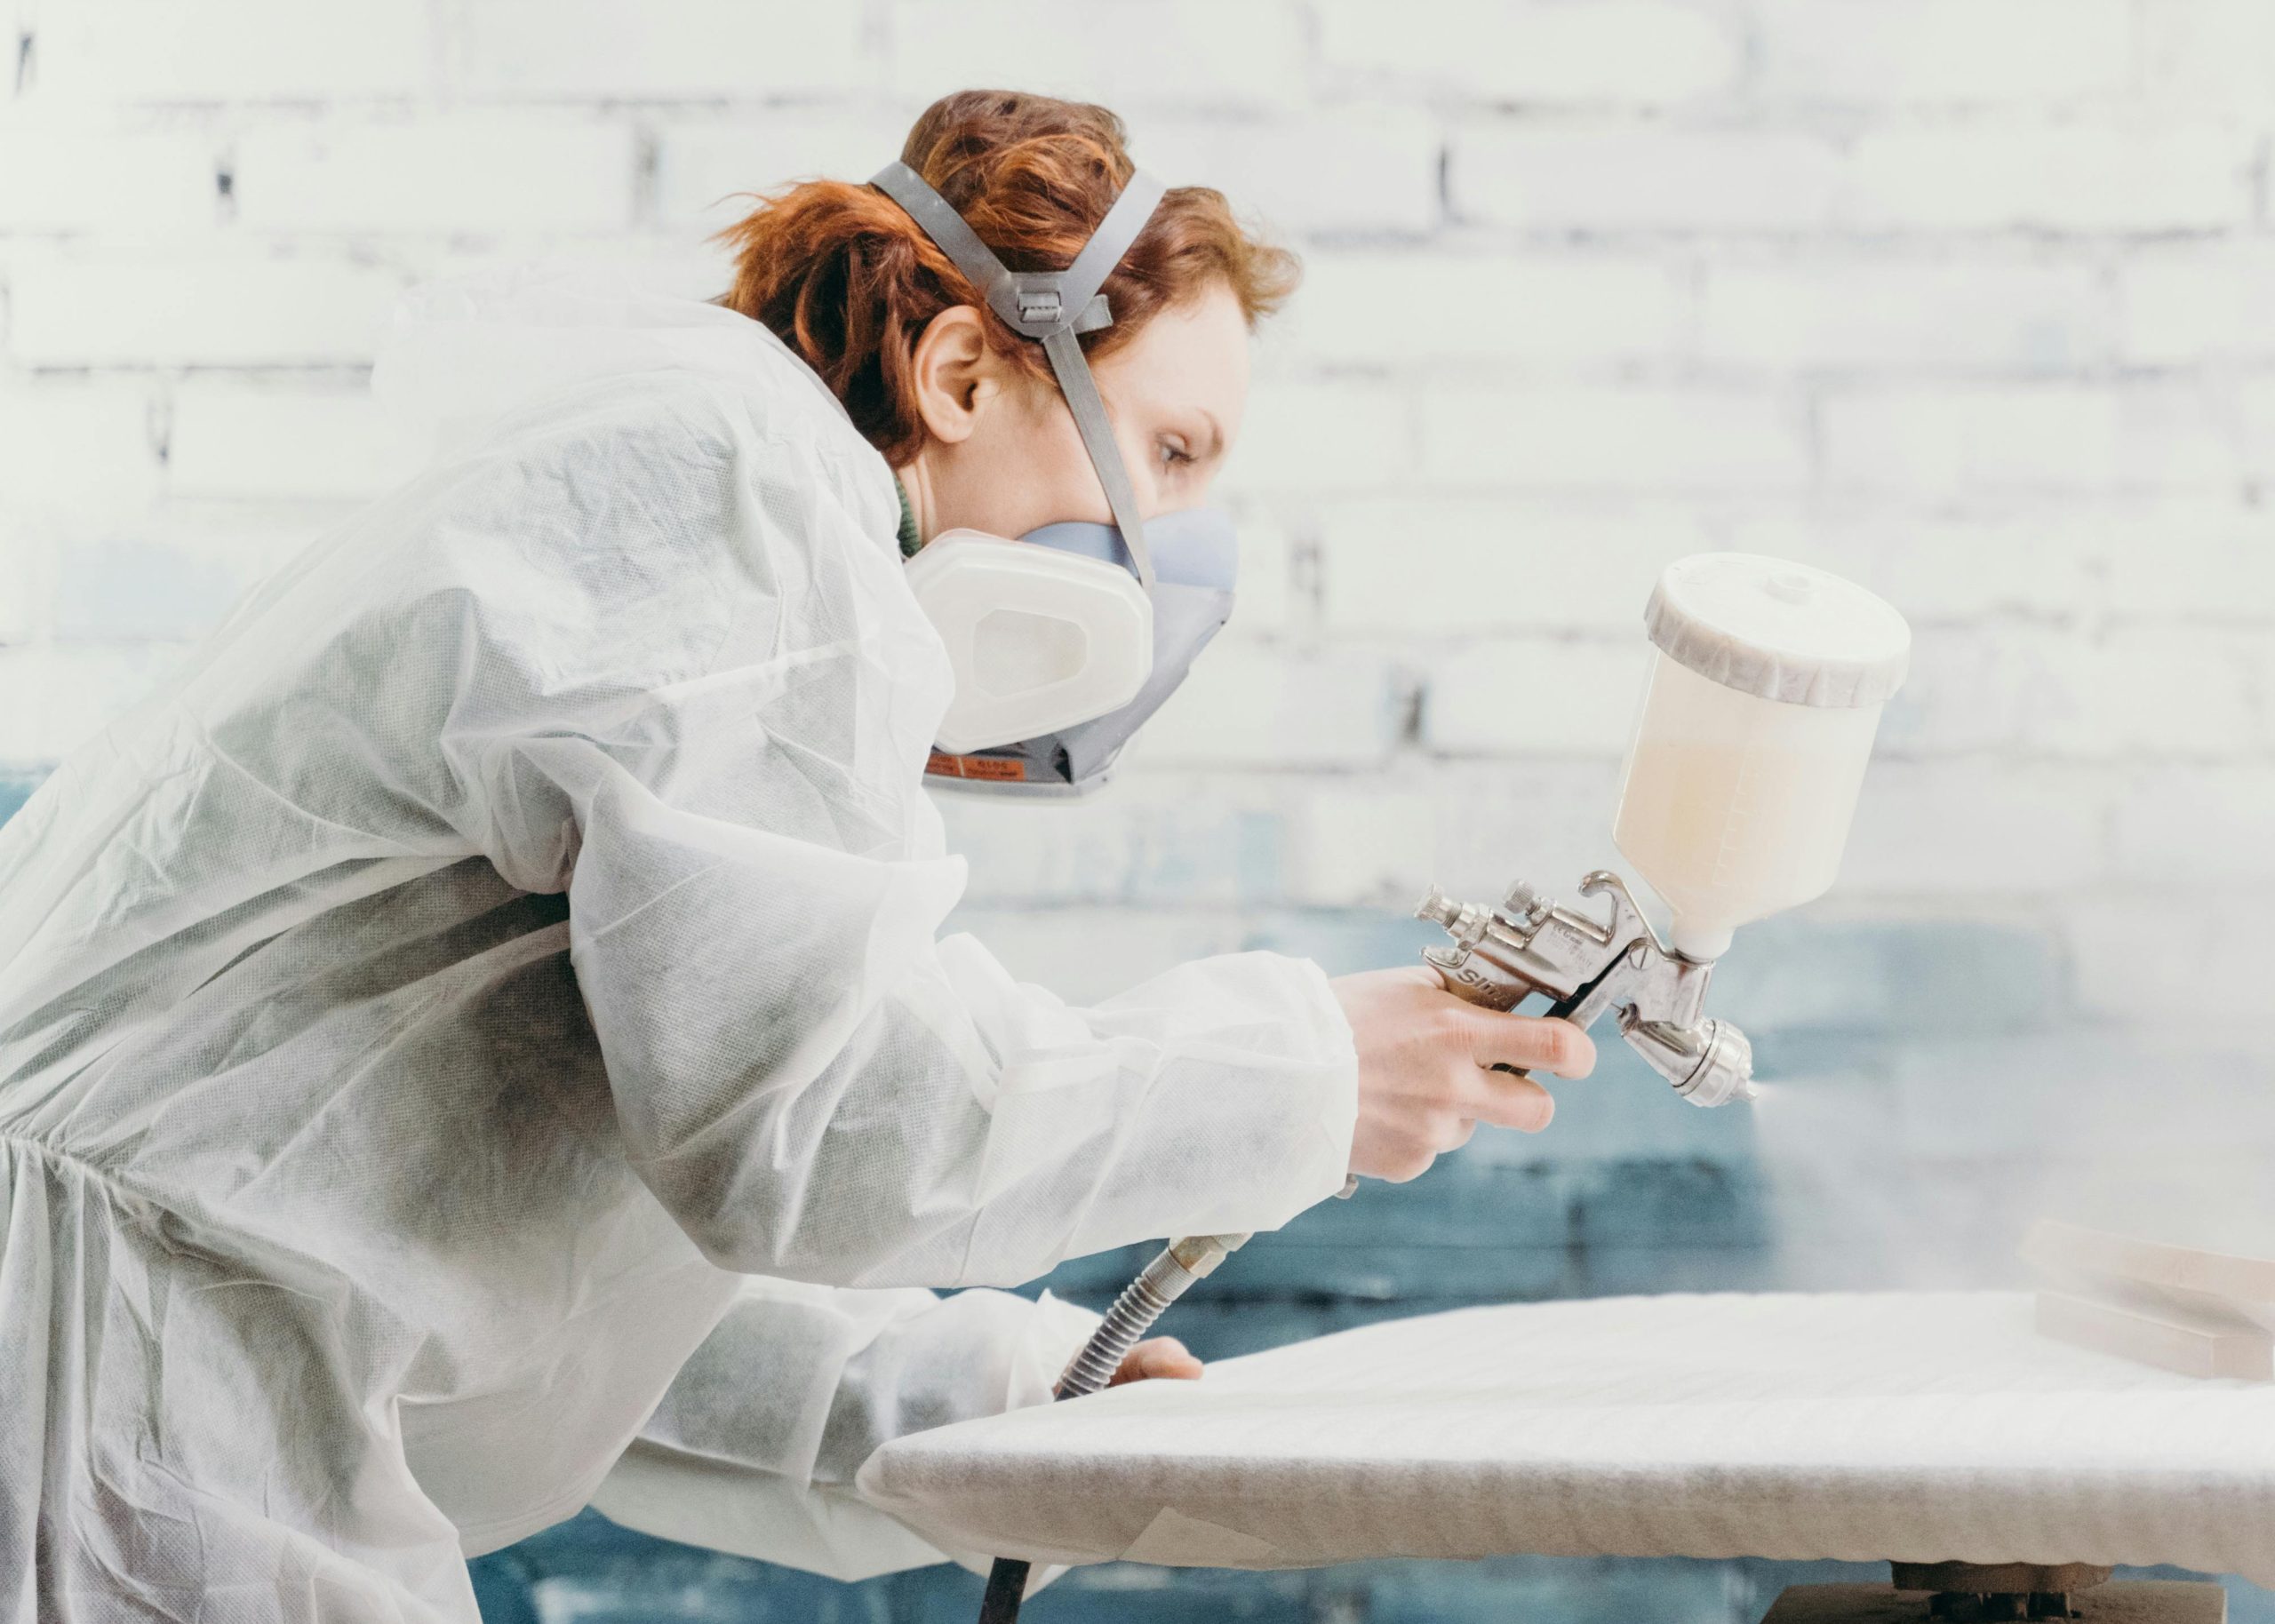
Application Tips
There are several methods for applying finishes, including gravity guns, cup guns, airless pumps, or air-assisted systems. Regardless of your method, remember that:
Tip Sizes, Air Pressure, and Reduction
These factors significantly impact how well the finish flows onto your project. Adjusting these properly will give you the smoothest, most even coat possible.
Environmental conditions
Temperature and humidity in your workspace will affect dry times and how the finish behaves. Adjust your process to accommodate seasonal changes to avoid issues like slow drying or blushing.
7 Most Common Finishing Issues And How to Address Them
Problem #1: Fisheyes
Fisheyes are small craters that appear in the finish of a coated product. They are often caused by contamination.
What Causes Fisheyes?
Fisheyes can be caused by the following factors: Silicone contamination from the worktable, oil contamination from the compressor, water in the line or perhaps the item to be coated may already be contaminated by wax or other substances from the varnish remover.
How to Fix Fisheyes:
The first way to fix fisheyes is to identify and eliminate the source of the contamination. Another option is to use a leveling agent that will smooth out the finish.
Problem #2: Orange Peel
Orange peel results in a pebbled surface that looks like the skin of an orange. This occurs when the coating doesn’t level out completely after being sprayed.
What Causes Orange Peel?
Orange peel can be caused by insufficient dilution of the product. Excessively high air output from the spray gun can be another cause along with the rapid drying of the product.
How to Fix Orange Peel:
You can fix orange peel by adjusting the viscosity of the coating. If the viscosity is correct and the problem persists, try using a retardant to increase drying time, which will allow the coating to spread evenly.
Problem #3: Pinholes
Pinholes are tiny holes in the finish where the coating has not properly covered the surface.
What Causes Pinholes?
If you apply an excessively thick coat, this may cause pinholes. They can also occur when the coating dries too quickly or by an improper sanding technique.
How to Fix Pinholes:
Try applying thinner coats of the finish. You can also use a retardant to slow down the drying process. Finally, adjusting the spray equipment nozzles for a better application can also help you avoid pinholes.
Problem #4: Blushing
Blushing appears as a milky opalescence in the film as it dries, often caused by environmental factors.
What Causes Blushing?
Blushing is often caused by excessive humidity or by an improper balance of solvents in the film.
How to Fix Blushing:
Fix blushing by adding 3-5% of retardant to the lacquer.
Problem #5: Bubbles
Bubbles can form in the film during or after drying, disrupting the smooth finish.
What Causes Blushing?
Blushing can appear when using a veneer that is too porous or when working with open-grain wood. Additionally, it can happen when the coating dries too fast.
How to Fix Bubbles:
Try using a product specifically designed for porous surfaces. Another option is to use a retardant or bubble eliminator to prevent bubble formation.
Problem #6: Slow Drying or Insufficient Hardness
Slow drying or a finish that does not harden properly can significantly affect the durability and appearance of your project.
What Causes Slow Drying and Insufficient Hardness?
Your paint shop’s ambient conditions can affect results. A shop that is too humid or too cold might cause slow drying and insufficient hardness. Another factor could be the migration of the coating into the wood. Or perhaps you are using a coating batch that is past its due date. Moreover, applying an excessively thick coat or not catalyzing the coating properly can cause these issues
How to Fix Slow Drying and Insufficient Hardness:
First, make sure you maintain a proper temperature and optimal humidity levels in your workspace. Finishing products cure best between 18 and 26 degrees Celsius and in environments that have less than 50% humidity. If the ambient conditions are optimal, you can try using an insulator to prevent coating migration. Finally, always ensure you are using a fresh batch of coating and are applying it in the appropriate thickness.
Problem #7: Blotching
Blotching is the uneven absorption of stain, resulting in darker and lighter areas on the wood surface. This is especially common with softwoods like pine and maple.
What Causes Blotching?
Blotching is caused by variations in wood density generating uneven absorption. It can also occur when the surface is not adequately prepared.
How to Fix Blotching:
Firstly, you can avoid blotching by pre-conditioning the surface. Apply a wood conditioner or pre-stain before staining. This helps to even out the absorption rate across the wood surface. Also, ensuring a thorough and even sanding of the wood surface is important. Sand with progressively finer grits to achieve a smooth surface. Another option is to use gel stains. These which sit on the surface of the wood rather than penetrating deeply, reducing the risk of blotching. Finally, you should always test the stain on a scrap piece of the same wood to see how it absorbs and adjust your technique accordingly.
Achieving the Perfect Finish
By understanding these common finish coating problems, along with the proper mixing and application techniques, you can ensure your woodworking projects achieve a high-quality, professional finish. Whether you’re dealing with fisheyes, orange peel, blotching, or any other issue, following these tips will help you troubleshoot and fix the problems effectively. For more detailed advice or to stock up on high-quality finishes, contact McFadden’s today.